
Goalkeeper Diving Techniques: The 4 Dives Every Keeper Needs
Most keepers only ever learn two of them. Here is all four, plus what to do if the ground is the thing you are actually scared of.
The shot is coming low to your right. You know you should go. Your feet know it too.
And somehow you end up watching the ball roll under your arm and into the net.
I have been there. I spent two seasons diving badly and thinking I just needed to try harder. I did not need to try harder. I needed someone to tell me there is more than one dive, and I was using the wrong one.
There are four diving techniques a goalkeeper needs: the low dive, the collapse save, the high dive, and the leg removal save. Most keepers only ever learn two. Each one covers a different distance and height, and picking the wrong dive for the shot is why so many balls end up in the net.
Under one of my diving videos, a young keeper asked me this: "Can you make a video teaching us what to do if you're afraid to dive?" It got more likes than almost any comment on my channel.
So this guide covers the technique and the fear, because for most goalkeepers they are the same problem.
Where do you start before any dive?
Every dive starts in your set position. Get this wrong and nothing after it works.

Up on your toes. Knees shoulder width apart and slightly bent. Hands relaxed in front of your body. Weight forward, leaning just a touch.
That last part matters more than it sounds. A goalkeeper leaning back is already losing. You cannot drive forward from your heels.
How do you make a proper low dive?
Low shots are the ones that hurt most, because everybody watching thinks they were saveable. Often they were.
Three mistakes cause almost all of them.
You are starting too high
Watch what happens when you dive from a high position down to a low ball.

A deflection or an awkward bounce goes straight through it. You are also slower getting down there, and you are far more exposed to elbow and shoulder injuries.
The fix: start low, then drive through the ball, leading with your hands.
You are diving backwards
This one is quiet and it costs a lot of goals.
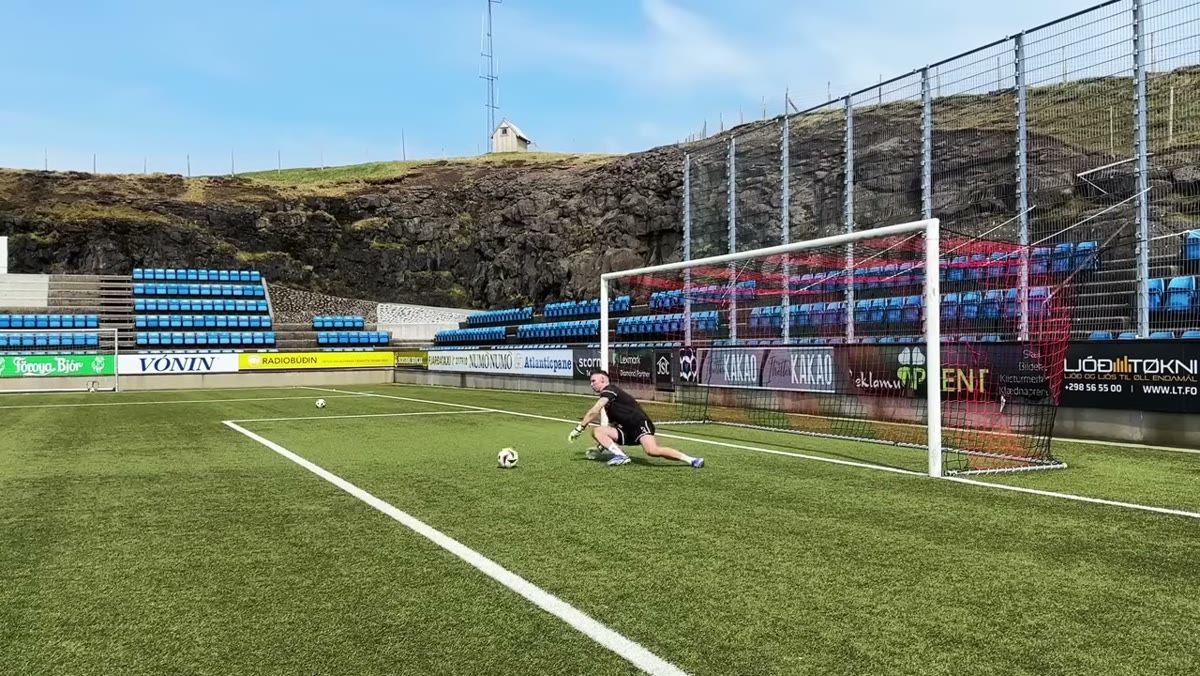
And even when you get a hand there, you are far more likely to push the ball back into the net instead of around the post.
The fix: attack the ball. Take a solid forward power step and dive towards it.
After 20 years and more than 500 competitive games, I can tell you diving forward is not always possible. When the striker is close and you have almost no reaction time, backwards is sometimes your only chance. But whenever you can choose, go forward, or at the very least straight across.
You are landing on your elbows
A lot of keepers drop their elbow to break the fall, or slap at the ball after it has gone past.

I have seen this lead to broken collar bones.
The fix: glide your lower hand out into a smooth push-out motion. It protects you, and it forces you low, which closes the gap.
The low dive, put together

- Start in your set position
- Get low
- Take a solid forward power step
- Lead with your hands, lower hand close to the ground

Then it is decision time. Either grab the ball with one hand behind it and the other on top, or if you cannot hold it, parry it out to the side. Never straight back in front of you.
What is the collapse save, and when do you use it?
This is the dive you will use most, and it is the one nobody teaches properly.
You use it when the ball is close to your body, but not close enough to scoop, and not far enough away to need a full extended dive. Shots around the middle of the goal. Low shots. Awkward bouncing ones.
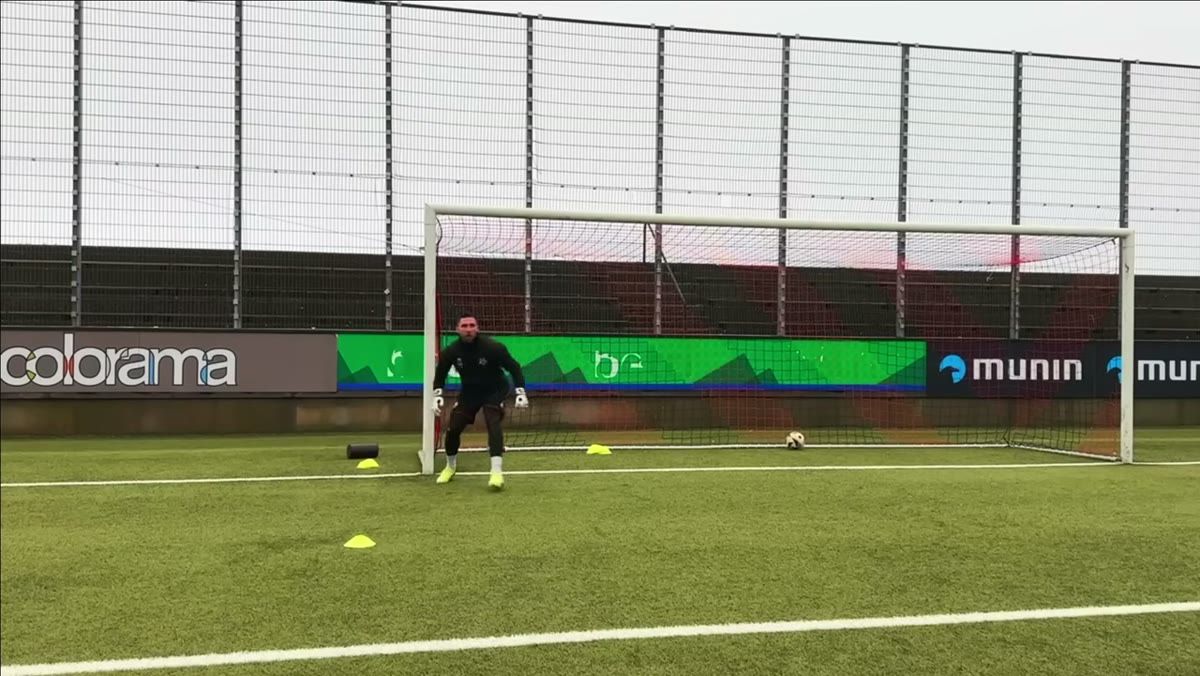
The big mistake here is launching off both feet. Do not launch at all. Take a solid forward power step, then stand and wait for the ball.
Then:
- Get your body behind the ball with a step towards the side it is going
- Point your foot forward at an angle
- Grip the ball with the W catching technique, face and chin behind your hands
- Your shoulder should line up with your knee
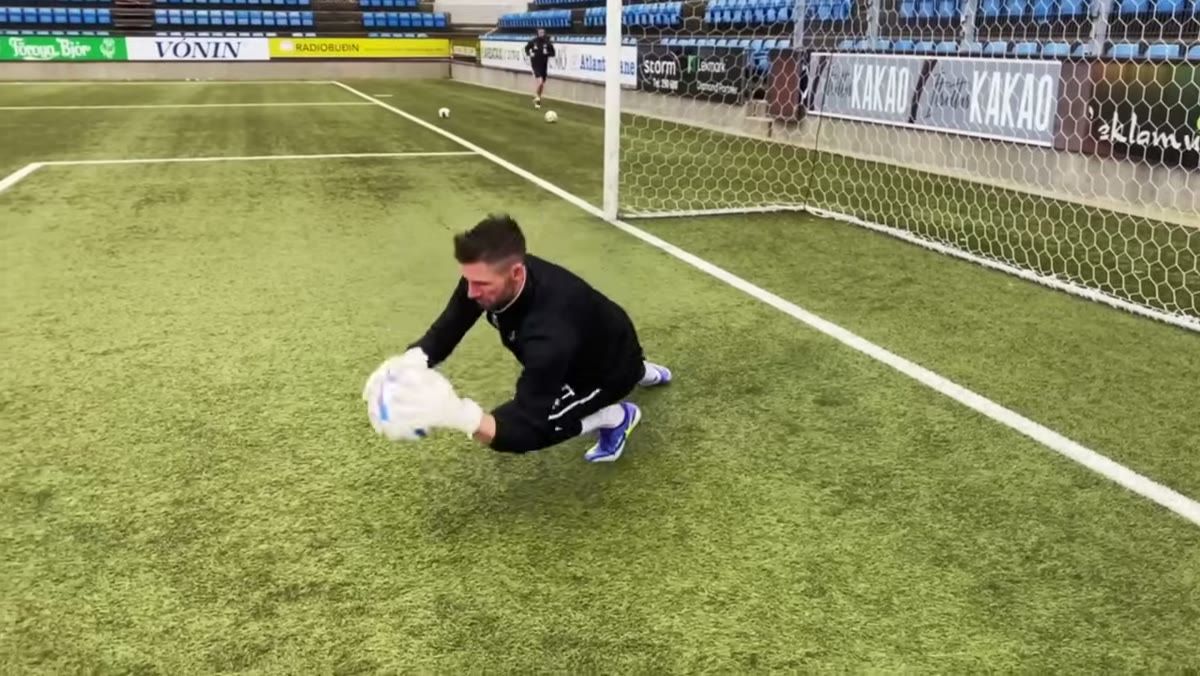
Then go with the fall. Use the ball to cushion you, followed by your hip, then your shoulder. In that order.
How to practise the collapse save on your own

Start on one knee with your other foot in a power step position. Practise falling to the ground, using the ball to cushion you. That is it.
Once you trust it, stand up. Bounce the ball on the ground, take a power step, catch it, follow through into the dive.
No space? Bounce it against a wall instead. Same motion.
With a partner, have them throw a few mid-height balls so you have time to set your power step. Once that is comfortable, let them shoot instead, so the ball becomes less predictable.
How do you reach the top corner?
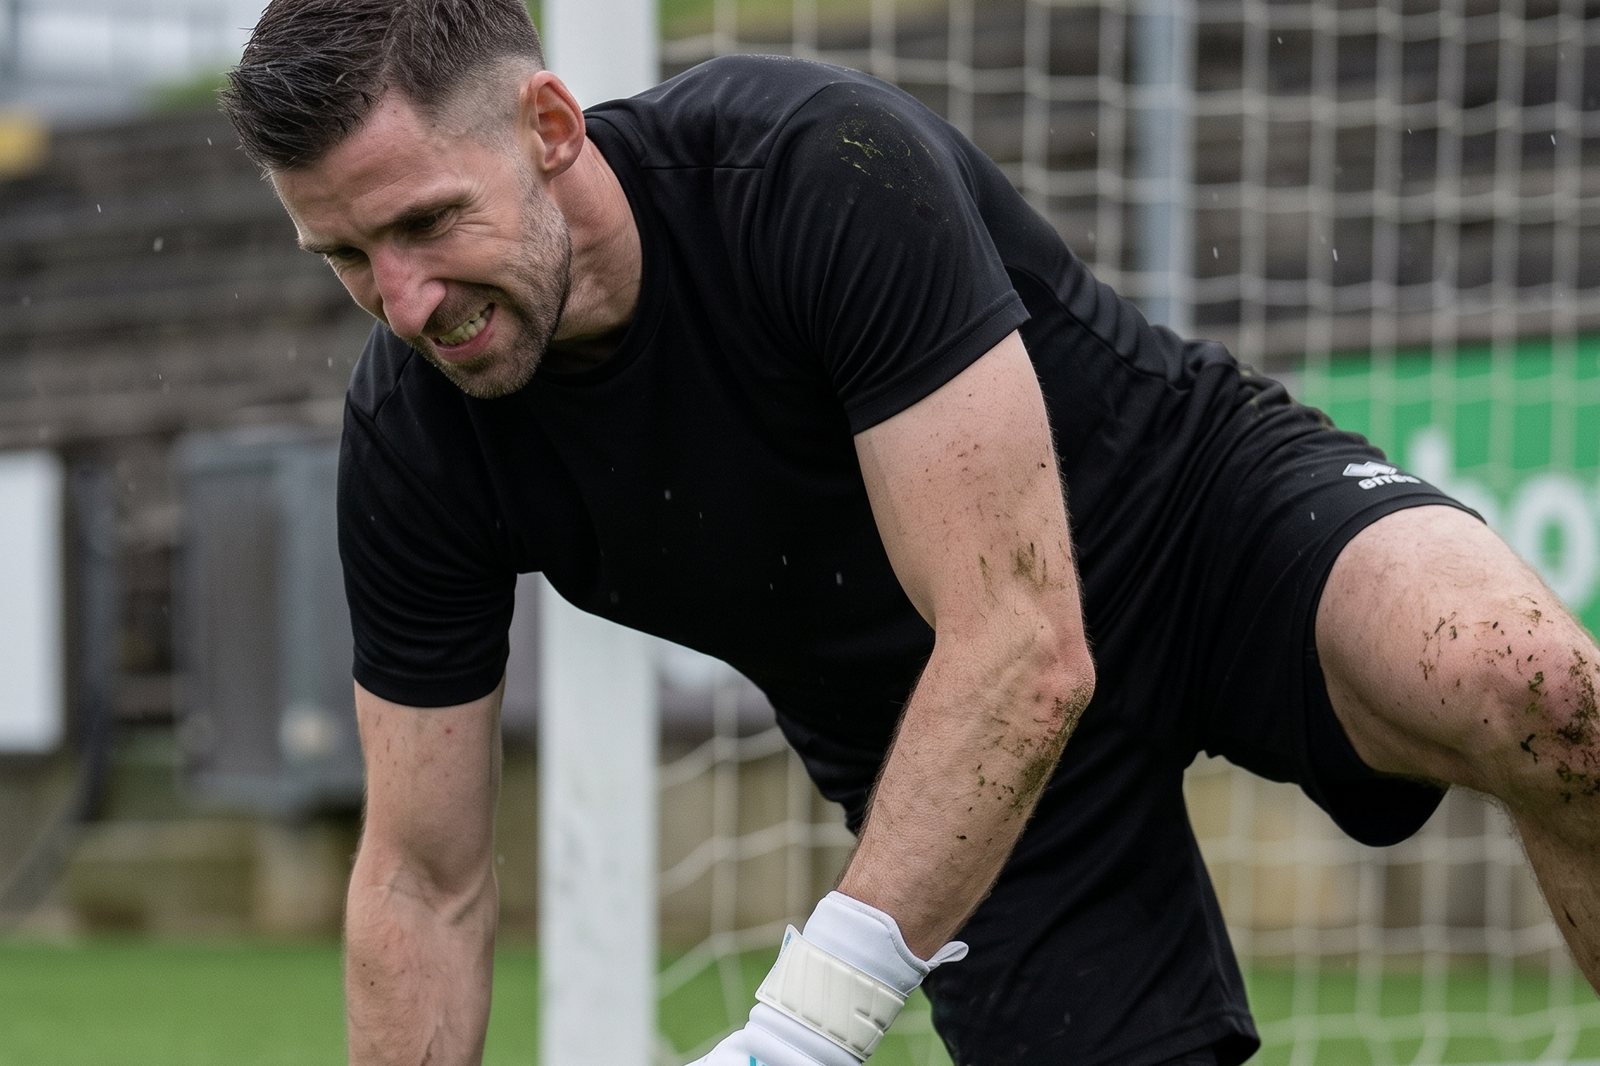
Never dive off both feet. You will not generate enough power to get up there.
Instead, isolate your plant foot. Lean slightly onto your off foot, then transfer that weight onto your power step.

And the same rule as the low dive applies here, which surprises people. Start low.
You might reasonably ask why you would get low to dive high. Here is why: when you dive from high to low, you are travelling downwards, and it becomes almost impossible to reach the top corner. Start low and launch upwards, attacking the ball at its highest point.

A drill I like: start kneeling, toss the ball up and forward, then spring towards it as it bounces back up.
Swing your arms. Everything you have should be going towards that corner.

Bring both hands, then make the decision in the air based on the shot.
How should you land?
This is the part that decides how long your career lasts, and almost nobody talks about it.
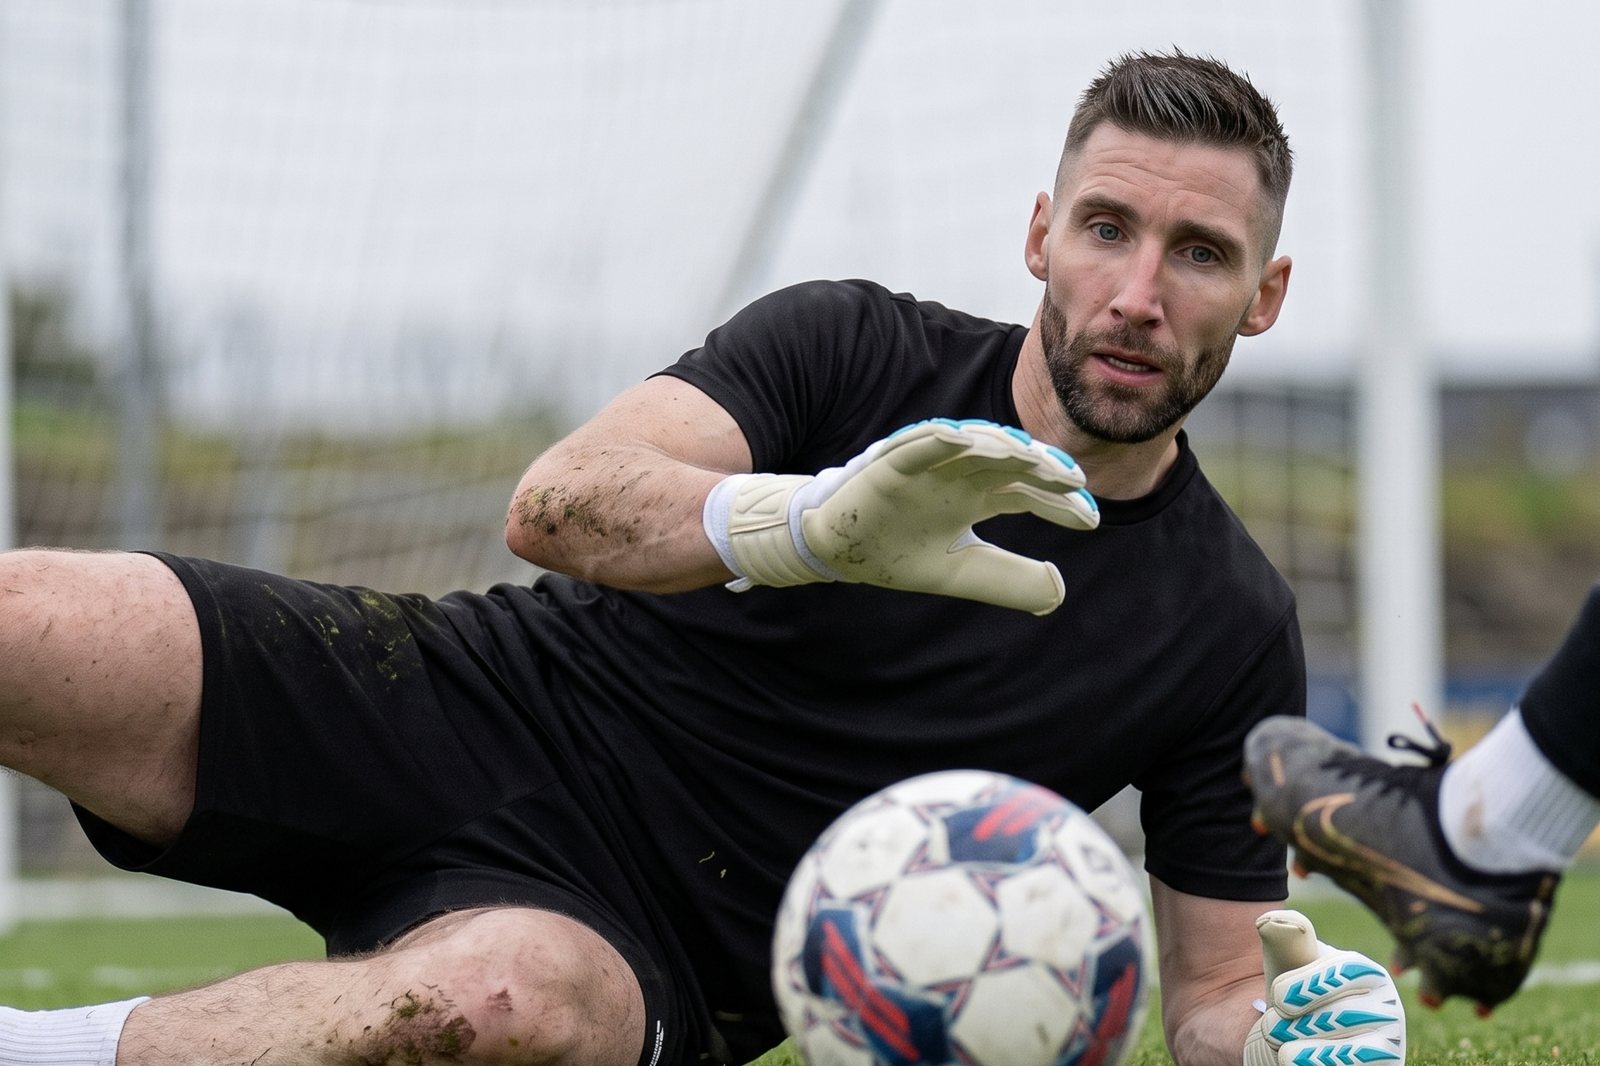
Never land on your elbows or your knees. Landing hard on those joints again and again will shorten your goalkeeping career. I am not being dramatic. I have watched it happen to keepers I played with.

If you have to push the ball away, turn your lower hand around so you land on the side of your elbow with your palm facing upwards.
What is the leg removal save?
This is the fourth one, and most goalkeepers have never heard of it.
I am a big believer in using my legs to block, especially in 1v1s when the striker is close and you are covering as much goal as possible. But sometimes you need the ball in your hands, not just blocked.
The leg removal save is for crowded penalty areas where you cannot afford a rebound. It works on those awkward shots right around your plant foot, too close for a collapse dive, too far for a scoop.

Take a negative step away from the ball to make space for the dive. Then, instead of planting your foot, remove both feet by kicking your other leg out from underneath your body.
On the way down, catch with both hands, one on top and one behind. Cushion with the ball, then hip, then shoulder.
Put one ball in front of you and one at your side. As you dive for the front ball, kick the side ball away with your other leg. It teaches the motion quickly. The only downside is fetching the ball afterwards.
With a partner, have them stand around the six-yard box and shoot just beside your plant foot, varying power and direction.
What if you are just scared to dive?
Let us deal with this properly, because technique advice is useless to a keeper whose body will not let them go.
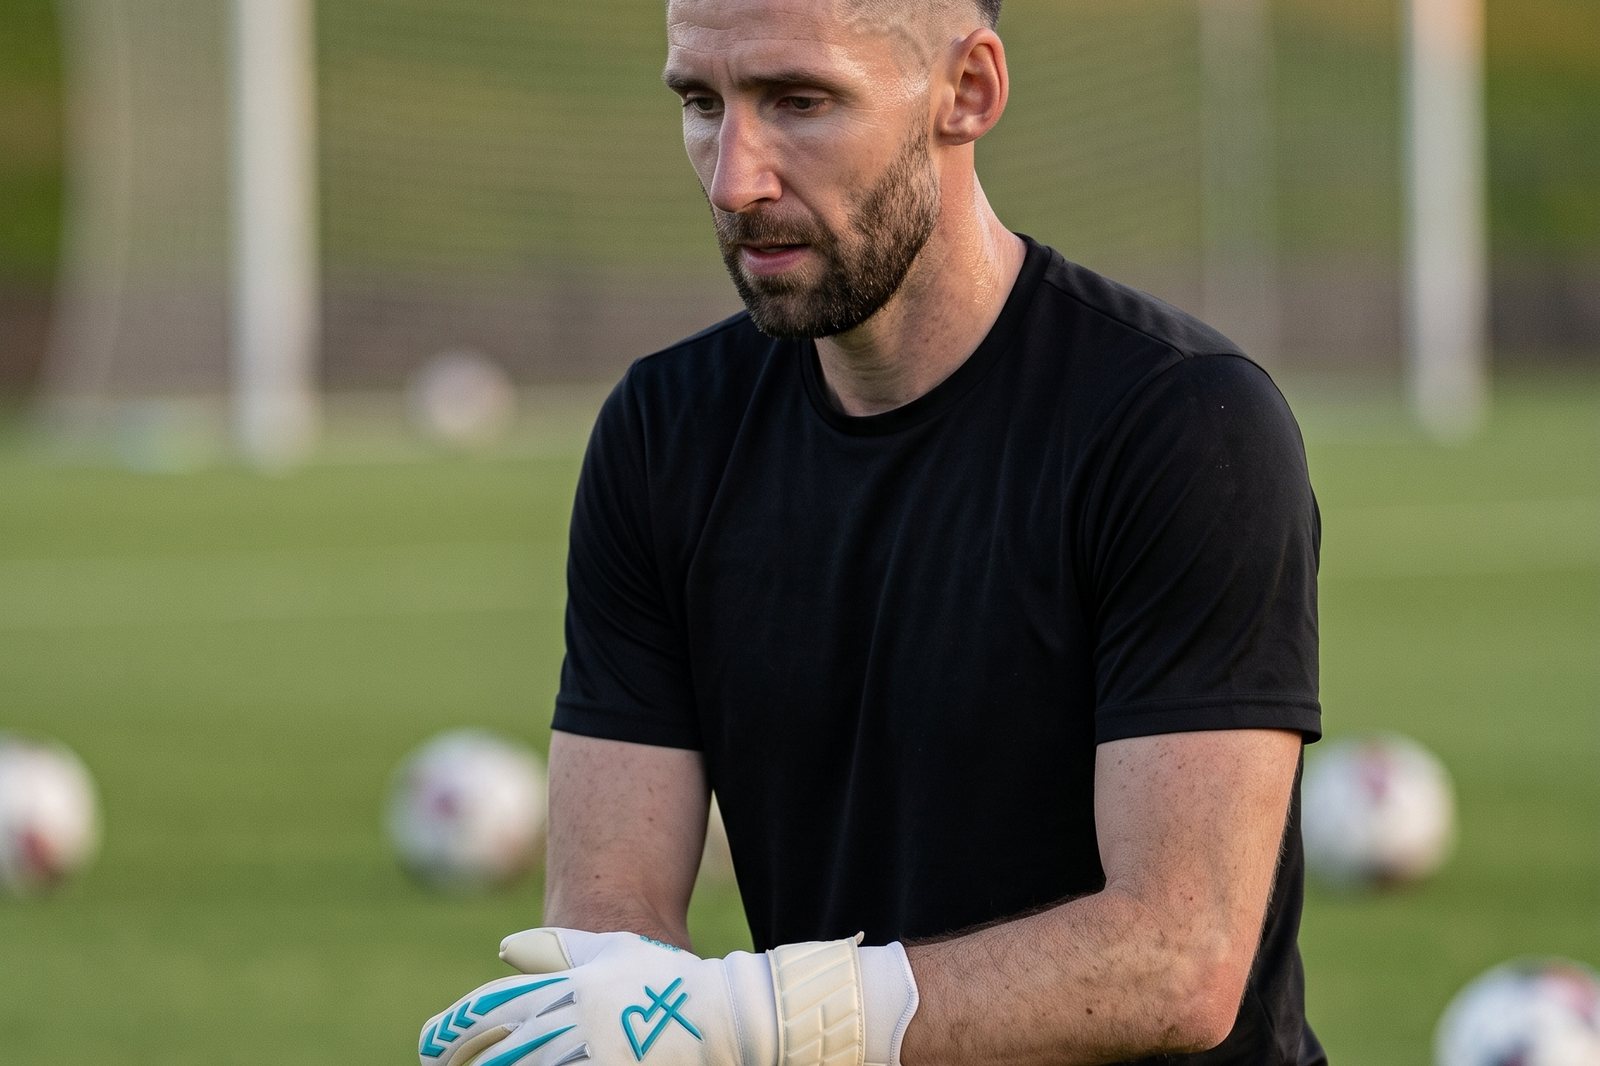
Your body has worked out that hitting the floor hurts, and it is protecting you. That is not weakness. That is your body doing its job.
So stop trying to be braver and fix the landing instead.
Go back to the kneeling drill above. One knee, other foot in a power step, falling onto the ball. Do it on grass. Do it until it is boring. Then add a little height, and only a little.
The fear does not go away because you decided to be brave. It goes away because your body stops expecting pain.
Henry joined me at 11. He was smaller than the other keepers and he struggled with diving and with crosses. We did not start with spectacular saves. We started with him learning that the ground was not going to hurt him. Within months he earned a place in Surf Select, a top regional youth group.
If you are avoiding your weak side, that is the same problem wearing a different shirt. Start low, start slow, and let your body catch up.
Fear is not the only thing quietly costing you goals. There are five habits that do the same, and most goalkeepers have at least two of them.
How often should you practise this?
More often than you think, and for less time than you think.
Fifteen focused minutes, three times a week, will beat one exhausting session at the weekend. Diving is a skill your body learns through repetition, not through effort.
Young goalkeepers should be building up gradually on soft ground. If something hurts beyond normal training soreness, that is a physio question, not a push-through-it question.
Want the dives on your phone? Diving has its own chapter in my free Goalkeeper Technique Playbook, one page per technique, with the mistake to avoid and a drill you can do alone.
What to do this week
- Pick one thing, not four.
- Getting beaten low? Work on starting low and driving forward for a week.
- Does the ground scare you? Do nothing but the kneeling fall drill until it feels dull.
- Can already dive but cannot reach the corners? Do ski jumps.
One dive, one week. That is how this actually sticks.
Whichever one you pick, the drill for it is on the goalkeeper drills page, and the two dives most keepers get wrong are covered on their own in the low dive guide and in how to get up faster after a save.
Not sure which dive you need most?
Everything above is the technique. The part that is harder to do alone is knowing which of the four you need most right now, and what to train the week after that.
That is what the Ultimate Self-Training Course is for. It is 120+ step-by-step drills with a done-for-you weekly plan, so you are not guessing what to work on. $27 a month.
Have a look at the program 30-day money-back guarantee if it is not helping.
I have played more than 500 competitive games, represented my national team, and played in Champions League and Europa League qualifiers. I have coached more than 1,000 goalkeepers. I made most of the mistakes in this guide myself, and it took me far too long to work them out.
Enjoyed this article?
Find more great content here: